

Attend a live training or watch an on-demand session
Get up and running with Woodpecker!
Table of contents
Launching Woodpecker
Open a document
Tips and tricks
Navigating Auto-template
Enter new data into fields
Populate the template
Getting Started
Once you’ve signed up for an account, the next step is to launch Woodpecker. Woodpecker is web-based, so there are no installation files to download or executables to run.
Installing Woodpecker from our website (preferred)
The simplest way to install Woodpecker is from our website, visit our install page by clicking the button below and click “Open in Word”.
Installing Woodpecker from within Word
If installing from our website doesn’t work for you, you can install Woodpecker from within Microsoft Word itself. If installing Woodpecker from Microsoft Word doesn’t work seamlessly, try these methods instead.
To install Woodpecker from Microsoft Word, navigate to the "Insert" tab, click "Get add-ins".

What you're viewing at this point is Microsoft AppSource (the Microsoft app store for Office products). Click on “Store”.
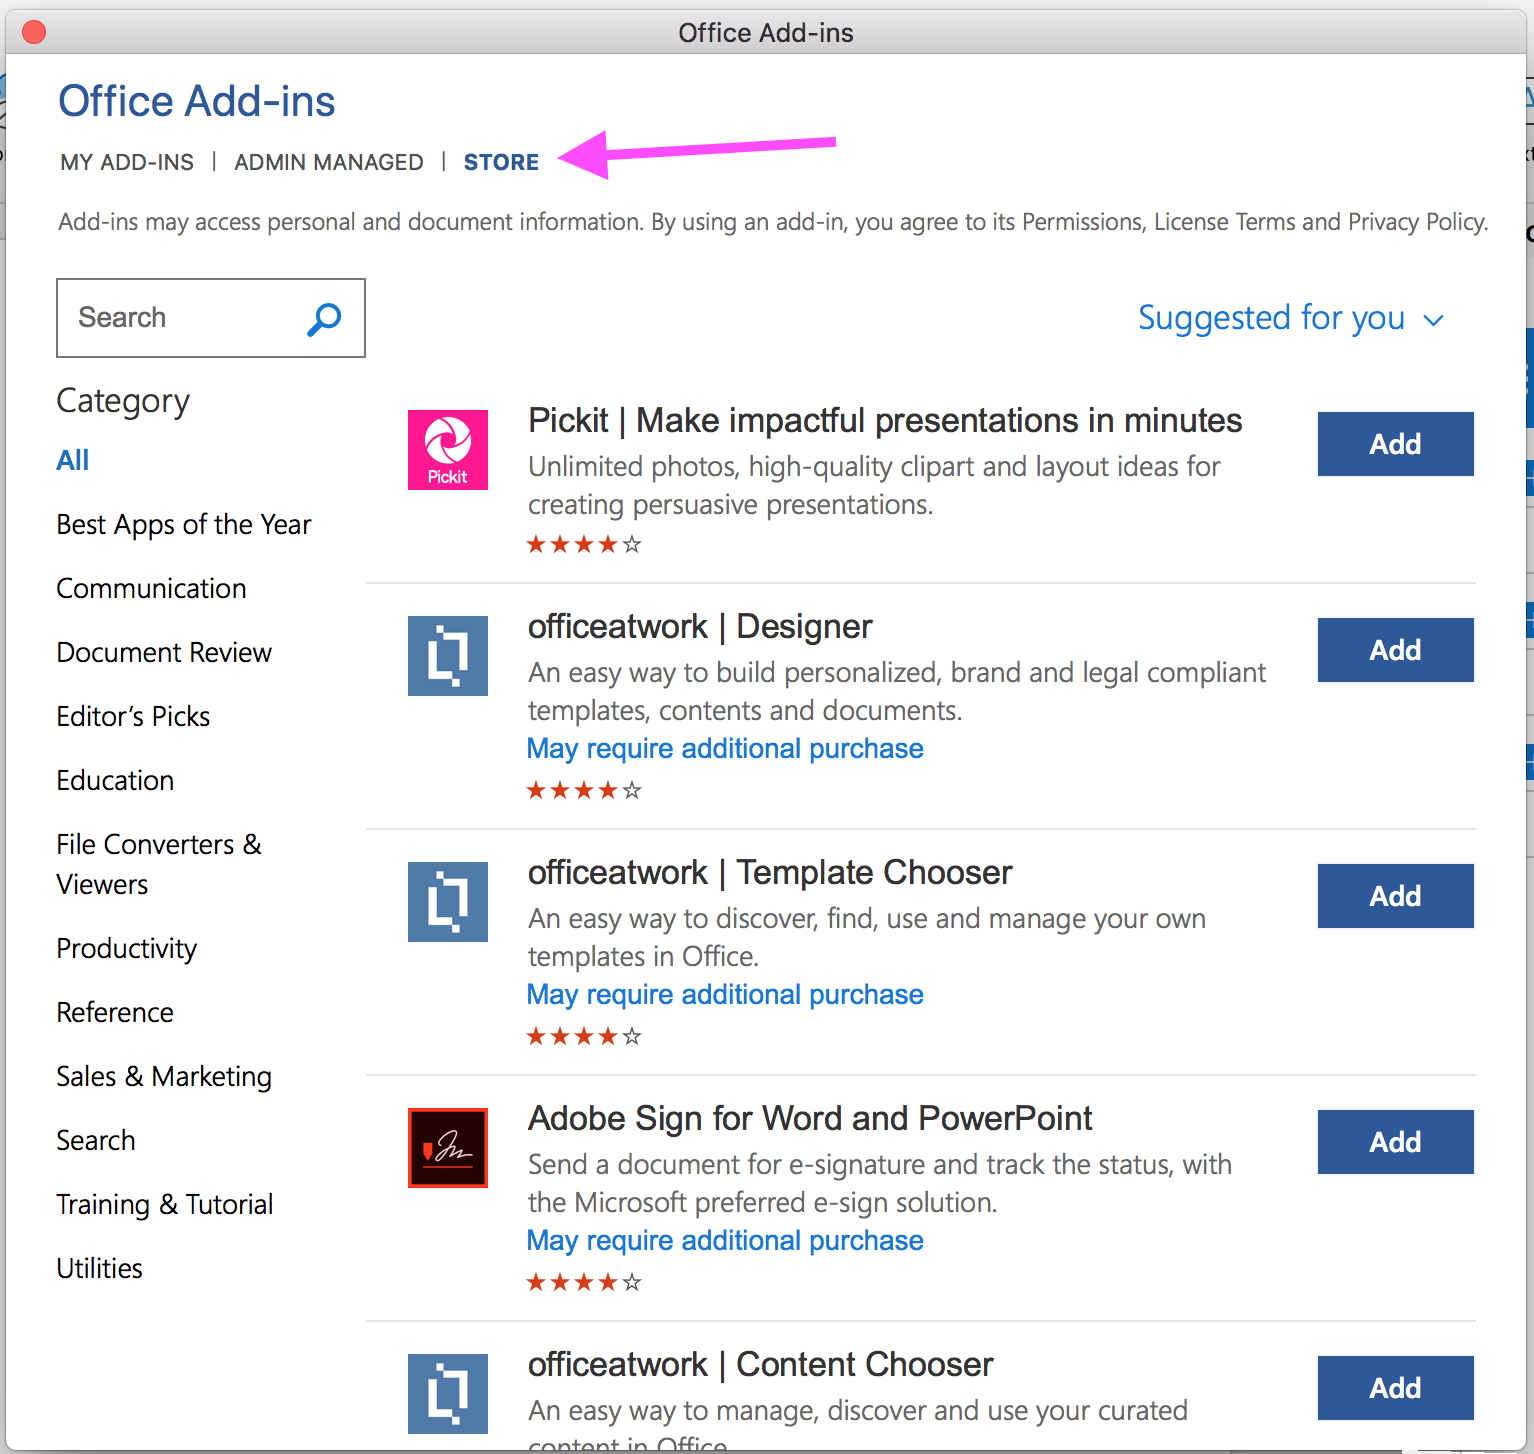
Type in "Woodpecker" in the search bar and click the "Add" button. Woodpecker will be automatically installed for you and the "Woodpecker Automation" button will be added to your ribbon underneath the "Home" tab.

Open a document
Open up a document (must be a .docx file) in Word and launch Woodpecker from the Home tab.

For versions of Word earlier than 2016, launch from Add-ins on the Insert tab:

More about launching Woodpecker
Visit our Help Center for more information on the various ways to install and launch Woodpecker.
Using Auto-template
Woodpecker Auto-template allows you to drastically decrease the time it takes to turn an existing document into a Woodpecker template. Auto-template utilizes a system of patent-pending AI technologies to automatically analyze your documents for words and phrases that are likely to change like names, dates, addresses, organization names, bracketed text, underlines, and highlighted text.
This automates the most time consuming part of implementing a document automation solution: turning your existing documents into templates!
Tips and tricks
There are a few ways to ensure that Auto-template identifies the largest number of potential fields in your document:
If you want Auto-template to analyze an existing template, make sure that any placeholders are surrounded by brackets like:
[Client Name]or<Client Name>rather thanClient Name, or are highlighted using Word’s highlight feature.If you’re starting with a document that is not a template, taking the time to surround variable text with brackets or to highlight variable text, will help Auto-template correctly identify your fields.
Avoid documents where the placeholders are simple blank lines. For better results, use a document that has been previously prepared for a recipient and has information already filled in like a person's name, their address, or the date for example.
Navigating Auto-template
Open up an existing document, launch Woodpecker and click the “Initialize Auto-template” button. You’ll be presented with a list of field suggestions.
Click the left & right “arrow” icons to locate the placement of field suggestions in your document.
Click the "trash can" icon to reject a suggestion.
Click the grey "field type" icon to change a field type.
Select "Create these fields" to turn your document into a template.

More about Auto-template
If you’d like to learn more about Auto-template, please see our Help Center.
Manually creating custom fields
After running Auto-template on a document, you may want to create some additional custom fields (like conditional logic, formula calculations, or drop downs).
Watch this quick video to learn how to manually create custom fields and how to insert those fields into your document using the “plus” button or bulk insert.
More about custom fields
If you’d like to learn more about custom field creation and management, please see our Help Center.
Populating templates
Enter new data into fields
Once you've created your fields, the next step is to populate your template with data. You can populate a Woodpecker template as many times as you want, each time saving the populated document as a new Word file.
Simply click on a field in the Woodpecker side panel and type in the information for that field.
Populate the template
After you’ve entered new information for each field that you’d like to update, click the "Populate" button at the bottom of the Woodpecker interface.
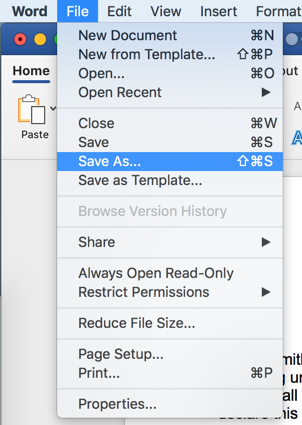
Finally, click "File" and "Save as" in Word to save your populated template as a new document.
More about populating templates
To learn more about the different ways that a template can be populated, check out our Help Center.
Next steps
💡Overview of Field Types
💡Productivity Tools
💡Document Collection
💡Output Options

Woodpecker Intermediate: Leveling Up
Ready for more? The Woodpecker Learning Center continues!